The DTM Studio Guide to Travel Zines
There are lots of ways to get more out of life.
Some involve mindfulness. Others involve careful reflection. Others still require time management and goal setting, challenging negative thoughts, and getting consistent sleep.
I'm sure that all of these are great approaches.
But for my money, an extremely fast, cheap, and delightful way of getting more out of life is by making zines. The humble zine has it all: creative expression, reflection, connection.
Almost magically, making a zine extends an experience by being a tangible way to reflect on something that happened, transform it into words and image, and expand it through sharing with others.
And there is nothing I want to extend more than my travels.
Enter the travel zine
Travel zines are as described: zines about travels.
The travel involved can be a far-flung, complex vacation or a weekend away or a jaunt across town.
In what follows, I will give you too much information about travel zines. In the inverse of a food blog, I've going to cut right to the recipe. Next week, I'll share some examples of travel zines I've made in the past.
AND, to help you get started, I'm including a template for a super-simple one-page travel zine that you can download and play with.
行きましょう! Let's go!
Why make a travel zine
There is no hard sell here. Either you're into this kind of thing, or you're not.
I've made travel zines in the past for two main reasons:
To capture little moments, mostly for my own enjoyment
As a slightly more detailed thank you card for hosts
These reasons have a spin off effect: gathering the materials and sorting the ideas and stories in the process of making a travel zine brings you back into the trip in a real way. I find myself looking back at photos, often zooming in on small details. I dig through the random ephemera I've collected along the way. To double check details, I end up looking back at "the dossier" (an itinerary that has every detail needed because my husband Carl is a master-planner).
Making the travel zine means really getting back into the trip in a way that a conversation with a well meaning friend does not. While I might tell a few stories when someone asks "how was your vacation?", zine prep can get you into the nitty gritty.
Step One: Review Your Notes
Do you do any journalling, sketching, or general jotting down during your travels?
Great news! You are well on your way to your travel zine.
If you don't, fear not! There are likely all kinds of notes you can review.
But they might look like your camera roll, flags in your maps, or even your receipt pile or credit card statement.
Gather whatever you have that might help you jog your memory. Then, get a blank piece of paper and start jotting down highlights from your adventure.
If you're feeling blank, here are a few prompts that reliably help me get moving:
Where did you go? List all of the locations
Who did you go with? Did you see anyone along the way?
What did you bring with you?
What did you bring home?
How did you travel? Did anything weird/fun/stressful/hilarious happen en route?
What were the best, worst, weirdest, most surprising, loveliest: things you ate? things you drank? things you saw? things you overheard?
Did you laugh until you cried at any point? What was happening?
Did you have any moments that you wanted to live in forever?
Did you look into the possibilities of quitting your life and moving to the place you were visiting? What was happening at the moments you thought "ahhhh yes, this is what I want!"
Step Two: Play with ideas
A reliable way to go from a pile of ideas to a draft is to figure out what kind of structure you are aiming to work within.
On occasion, I will make something more involved. But these take more time and more planning. There is no deadline for making a zine about a trip. But, in my experience, the longer I think about it, the less likely I am to actually do it.
(Carolyn Yoo described the ways creative procrastination diminishes us in her excellent newsletter a few weeks ago and ooooooooh boy did her words hit home.)
The quickest way to make a zine is the classic one-page zine. This folding format results in eight small pages; or, six ideas, plus a front and back cover.
Looking at your notes and the ideas you've jotted down, start asking: What are six moments I want to highlight? What are aspects of the trip that, taken together, share the vibe of the trip?
This is not the time to be a perfectionist. No zine is going to give an accurate play-by-play. But also, who wants that?
Instead, gather together those moments or dishes or views or inside jokes that could serve as a memory portal to bring you back!
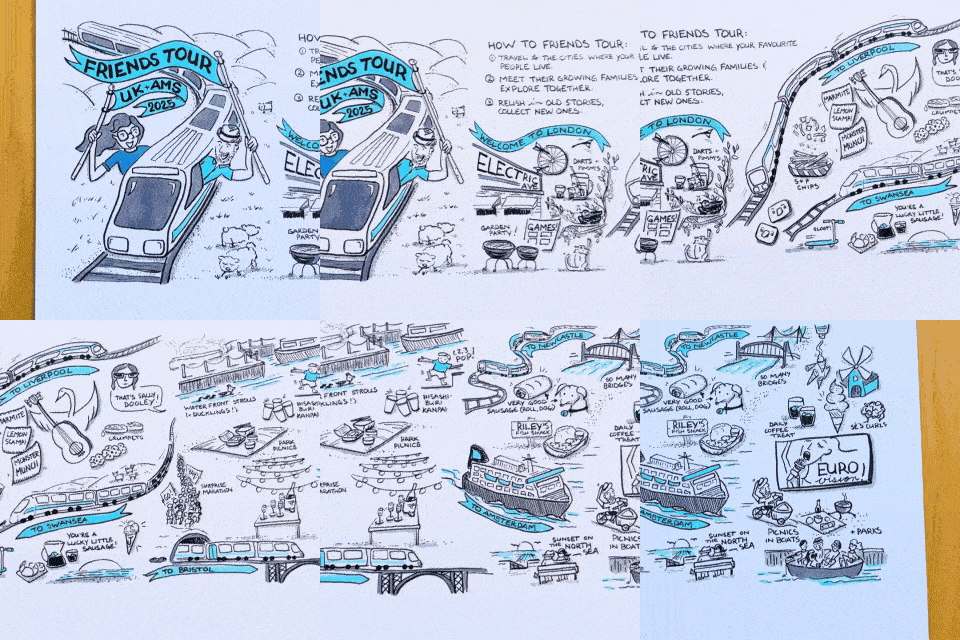
Note: I also like a concertina (accordion) fold structure for a travel zine. These can be very fun for communicating the spatial aspect of a trip. I used this method for my recent Friends Tour UK + AMS zine because it worked will with the trains that I wanted to highlight.
Step Three: Start with sketches
There is no way to really figure out how you're going to make your zine or how to draw the different scenes and details than by trying.
Get out a some scrap paper and start sketching.
This step is a visual brainstorm. For the Friends Tour zine, I had a bunch of notes of things that happened on the trip so I just started drawing all of the things.
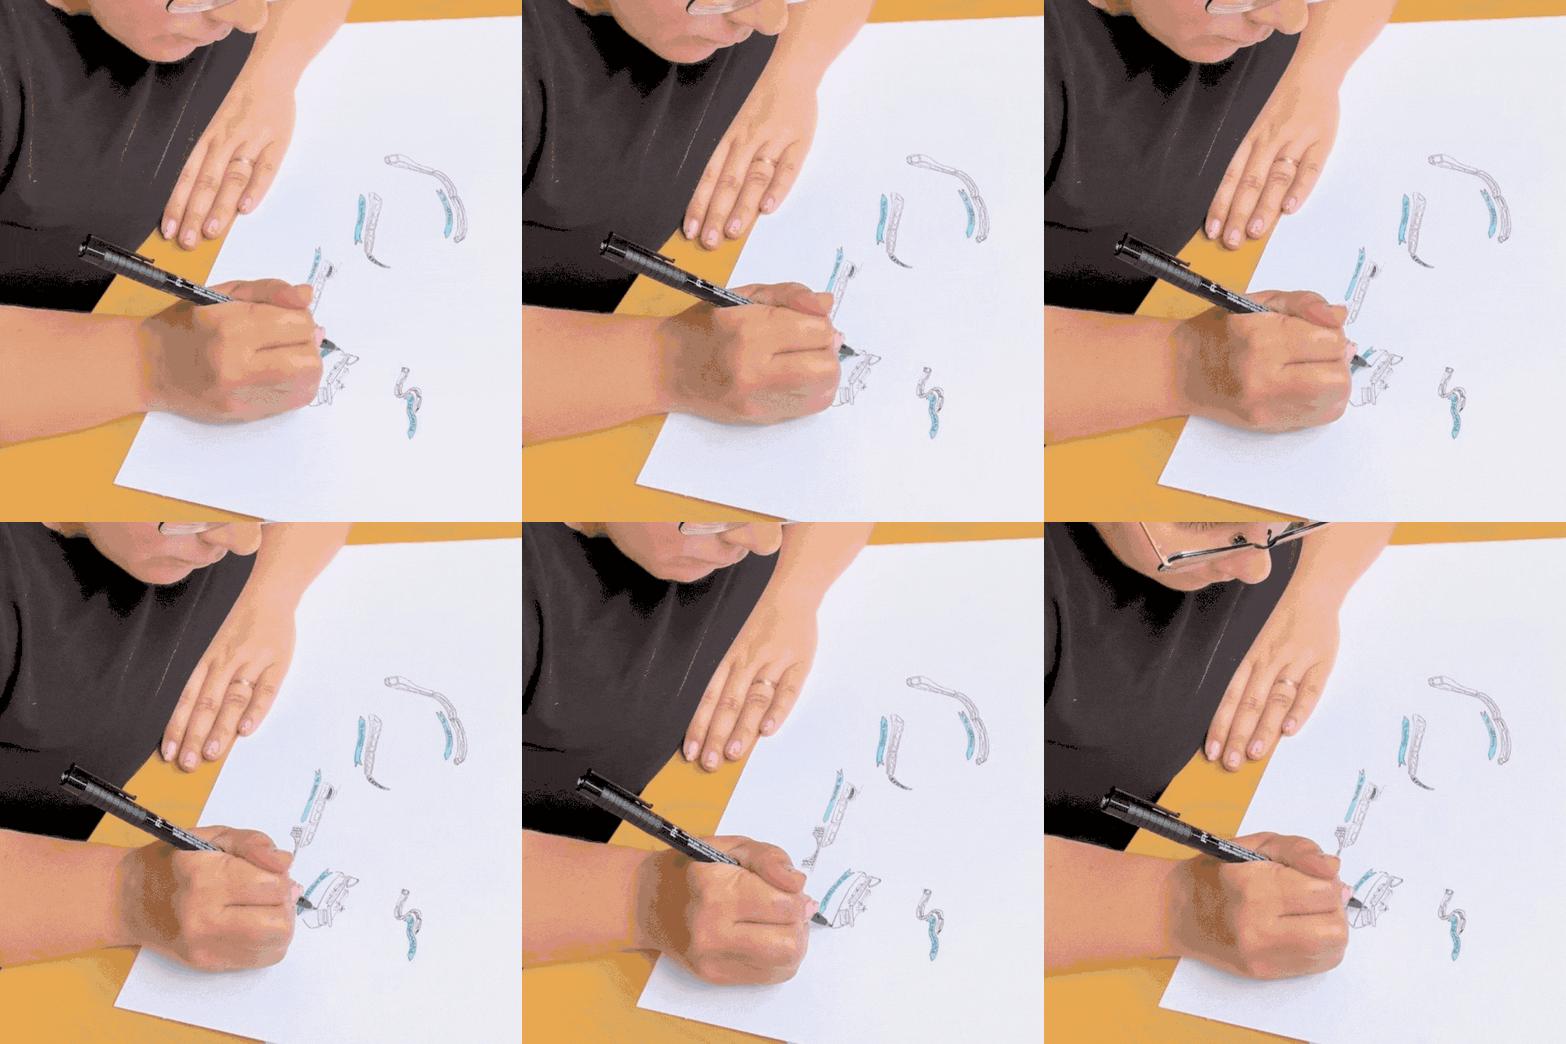
The sketch session is how I played with different ways of drawing trains, angles for canal boats, and tried to draw a bunch of new things for the first time (dart boards, Eurovision, windmills, etc).
After a bit of practice, make a practice draft of the zine that is the same size and shape that you want the finished product to be. Then, make some layout sketches. Thinking about the balance of words and images. My zines are image-driven, but you might want to include more writing. You might also think about collaged elements that you could add - check your bags, books, and wallet for interesting ephemera!
Playing with the layout might take a few versions. The volume of your ideas may exceed space on the page, which means editing and refining. But it's better to figure this out in the sketching stage than partway through drawing your zine!
Step Four: Draw, draw, draw (and/or write, write, write)
Eventually, you have to start drawing. This might take a few false starts. Especially if the idea in your head is so cool and amazing that it intimidates you and you feel like your current skills are not up to the task.
Too bad. It's probably true.
But the thing you make will end up being cool and interesting in ways you can't pre-plan. And if you sit on your designs for too long, it's possible that creative procrastination will steal them away.
So sit down and draw the zine.
Draw and draw and draw.
I often leave travel zines black and white - another trick to keeping things simple so that they actually get finished. And it makes copying cheaper.
Step five: Copy and assemble
If your zine is just for your own pleasure and archive: you're done! Rejoice in your success and marvel at the magical portal you've created.
If your zine is a thank you to hosts or you want to share a bit of your travels with friends, get some copies made!
I get my copies done at a local business in my neighbourhood. But you can also find copiers at public or university libraries and sometimes at convenience stores. If you are feeling fancy, you can look into risograph printing (the life changing spectrolite app makes this much less intimidating for people without adobe skills (ie: me)).
Bring your stack of prints home and fold them up. Enjoy the very special thrill of seeing your words and images in multiples!
Step six: Send it out
Share your zine! Send it to someone who hosted you or even someone you met along the way.
You can also send your travel zines to friends and family as a way of keeping in touch. Or pop them onto your social media or into a newsletter.
To be honest, sometimes I feel a little unsure about sending a zine about an amazing trip to someone who wasn't there.
Is it bragging? But I also love when friends send me postcards from their travels. When a zine feels like a postcard, I'll sometimes send it to pals.
(If you make a travel zine and want to share it, I will gladly receive it with joy and without judgment - even if it's exclusively inside jokes!)
And that's all you need for making travel zines. Go forth, and get more out of life by reflecting on your adventures, one folded page at a time!
Fancy a speed recap? Here's how I made a quick zine about Thanksgiving with my family last year:
Make stuff & enjoy life
If you made it all the way here, I hope you are feeling inspired enough to shut your computer and turn off your phone and pull out a piece of paper to start sketching some ideas for your own zine.
For an extremely easy on ramp, here is a template for a one-page travel zine. Print it out and go to town! No trip is too small to merit a zine. Or, maybe these prompts will be what you need to get started with a zine of your own design.
Have fun and share the adventure!
PS: If you are in Toronto this fall (or are planning to visit), I'm facilitating a Speed Portrait Night with the fun and fabulous Hot Pizza Studio on Saturday, November 1, 2025, 7:30-9:30 pm.
BYO paper and fave drawing materials. All skill levels warmly welcomed, big laughs guaranteed!


